- Tips & Tricks
- Mar 11, 2022
Ecommerce Photography– A Comprehensive Guide
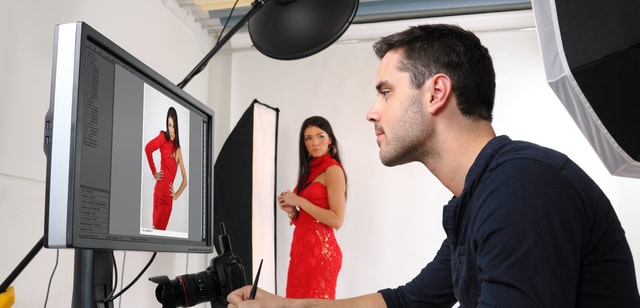
“Whether they’re looking for a new sofa or the perfect pair of earrings, people who search and shop on their smartphones at least once a week say that product images are the shopping feature they turn to most.” – Jonathan Alferness, Google Shopping Inside AdWords.
Today’s customers expect to see high-quality product images, or they won’t buy from you. In a physical store, they can see and feel the products, but on the internet, they must rely on photos that pique their interest and inspire trust to make a purchase.
We are pretty sure that all of us have at least once watched an Ad on Youtube while watching our favorite shows or dramas. Those Ads are intentionally made to capture viewers’ attention in just 6 seconds. And to make them impactful, a professional photographer is always needed to inject personality into product images so that they stand out from the crowd.
That’s why product photography is not negotiable; it is either bad or good; there is no in-between. Capturing stellar product images is like adding fuel to your automobile’s gas tank; You won’t go anywhere without it.
Whether you’re a beginner or an expert, we’ve got the information you need. When it comes to the finer points of product photography, the content below will be a gold mine for professionals. If you’re a beginner, no worries, we’ve got you covered! In this article, we will discuss all the aspects of ecommerce photography and provide you with a detailed guide to help you increase your sales.
What is Ecommerce Product Photography:
This section is solely for those new to the world of ecommerce photography. If you’re a professional in this field, you can skip this part to proceed directly to the in-depth explanation of product photography below.
“A subpart of the e-commerce industry that deals with capturing high-quality photos for commercial representation of products to sell them online is known as Ecommerce Product Photography.”
A forecast revealed that the market size of photography in the US alone is $11.5 billion, whereas the global market is expected to grow from $38 Billion in 2021 to $42 Billion in 2022 with a CAGR of more than 10%. And it is predicted that the market will reach $59.30 billion by 2026.
To read more about commercial photography, you can consult our extensive guide here.
Stock vs. Custom Photos – Detailed Guide
In the world of ecommerce photography, you’ll often hear two terms “Stock Photography” and “Custom Photography.” Photographers also use photo archives/libraries/banks and other terms for stock photos. Generally speaking, it is a repository that contains images of products that people want to buy.
Stock photos are generic images that companies might want for their businesses. Photographers take the services of models and capture images of products like shoes, clothes, makeup, bags, etc. Enterprises can use these images for their homepage, about us, or internal pages.
There are ecommerce companies that sell these images to other businesses and generate huge revenues. Companies purchase these photos to save their time, money, and effort because stock photos can be purchased online with a valid license in a few seconds.
Especially during the pandemic when many businesses started their online stores, the stock photo sites skyrocketed. Now, you can find every type of photo by just writing its name or with a simple keyword. You can also find photos for landing pages and product pages all on one platform.
But the question is: if the stock photos are that good, then why do we need custom photos? The answer is straightforward: stock photos don’t always cover the business needs. They are general photos that can be used for general purposes. Still, if a company wants images for a specific product they’re going to launch, they’ll face difficulty finding it at stock image sites.
Therefore, businesses need custom photos that a professional photographer can capture. But they are pretty expensive and consume a lot of your time, money, and effort. To avoid such circumstances, you can also choose the DIY path, which might not be accessible initially, but we’re here to help you out. You may also want to read our guide on taking perfect product photos for your ecommerce store.
These simple tips can help you capture eye-catching product images for your business:
Photography Setup: all that you need to start.
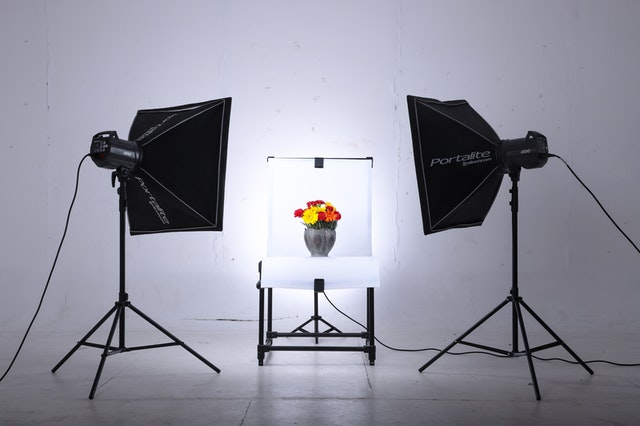
To take impressive photos, you need some tools besides photography skills. The main factor affecting the way you take snaps is “Setup.” A good setup contains everything required for capturing a steady shot of an object. Now let’s just cut to the chase and start discussing the list of “must-haves” for ecommerce photography.
Camera
While many people believe that a high-quality DSLR camera is a key component for taking a great image, we think otherwise. If you’re on a low budget or a beginner, you can simply start with any good quality camera within your price range.
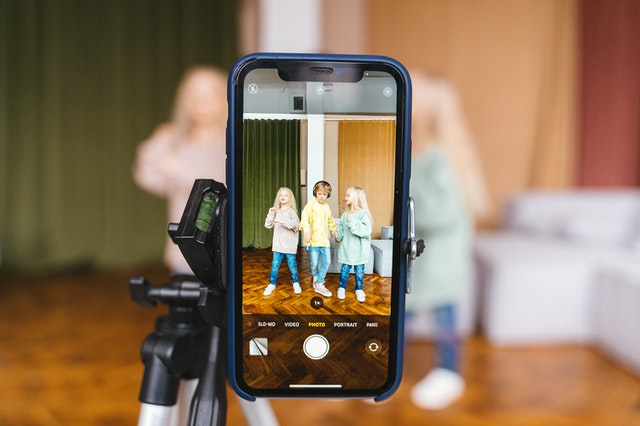
There are many examples in which photographers took amazing photos from their smartphones. This mobile device photography guide will show you how to capture top-quality product photos with simple cameras.
Tripod Stand
In ecommerce photography, a tripod stand is as important as the other components as it eliminates all the “blur effects or shakes” from images, which is a significant concern for most photographers. To get the most depth of field possible from your camera, you’ll need to set your camera’s aperture to the smallest setting possible.
You can also capture stunning images using timers and angle settings while shooting. And the best part is: there is a wide range of stands to choose from within all budgets.
Background
If we talk about the shopping experience, would you consider taking another look at a published product with a dull or poor background? Most people consider it a scam site when product images are published with a rough or messy background. That’s why before taking even a single shot, consider using a transparent background for your products.

You can use a mono color or a simple white background to showcase the originality and the details of your products. You can use a white/black or gray cloth or a simple whiteboard to hide the distractions from the background.
In case you can’t give a white or a monochrome background to an image, we’ve got you covered. You can hire professionals who can do the work for you, but they charge a handsome amount. You can also consider utilizing online tools and softwares which are less expensive and can handle the work in bulk to process thousands of images. Just be sure to use an authentic background remover, not those that pixelate your image while removing/replacing the background.
Lighting
For a successful shoot, you need perfect lighting that helps you capture the basic details of the products. We’ll showcase a simple “Window Light Technique” that you can follow to take those steady shots every photographer strives for.
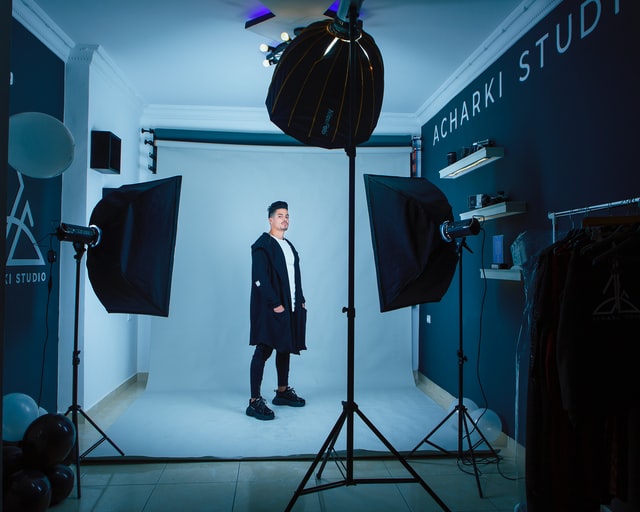
To maximize the effects of light, set up your studio in a room with a direct source of light, i.e., windows. Place your table near the window to avoid direct sunlight. Place some net or light shades on the window to produce a shaded effect for the photos and place lamps near the table but don’t forget to cover them with a thin white cloth to manage color temperature while shooting.
Bounce cards
While taking care of light, we must not forget shadows that can ruin the whole image. When light strikes a subject, it creates two sides, i.e., the light side and shadow side. To lighten the shadow effect, we use bounce cards or boards.
White foams can be utilized for making bounce cards; they’re light to hold. Black foams are also used to put on the back, which will create a bit of a dark edge on the subject. You can set these foams as per your requirements to get the full benefit.
Table and Tape
The table is used to put the products for a steady shot. The ideal measurements for a table are 24 x 48 inches. You can use transparent or white-colored tapes and also use the tapes or a clamp to secure your boards so they don’t move during the photography shoot.
The Ultimate Tip: Photography Angles
As buyers, we all want to look at the product from every possible angle. These angles tell us about the details of the products and help us make up our minds. Here are some of the camera angles you can try to win the trust of your customers:
Slanted Angle
When we take a picture at a tilted angle to present the one-sided page, this angle is known as the diagonal angle. This angle creates a dramatic effect for the pictures, especially for shoes and technology-related products.
Low Angle
As its name suggests, in low-angle photography, you have to take a picture to portray the bottom of the product.
High Angle
In this angle, the camera shows the top view of the product to indicate the details present on the upper side of the product.
Eye-Level
In this angle, the camera depicts the product in its natural state. That is why capturing this angle is both challenging and critical. This is the default view on the majority of web pages.
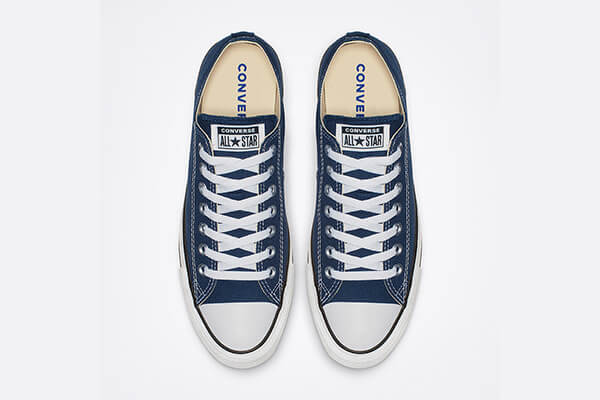
Bird’s Eye-Angle
A bird’s eye angle is used to represent the picture from above; this angle helps photographers to take stunning pictures and make the viewer feel superior to the subject.
Tips For Shooting Perfect Pictures
Cameras mostly come with instruction manuals; you should read the manuals in detail to get to know the ins and outs of the device you’re going to use. These instructions will help you reduce the noise, color-contrast issues, resolution problems, and motion artifacts.
- To shoot balanced product images, use the picture frame and make sure to put the product in the middle of that frame with balanced right and left sides.
- You can use a wide-angle frame if you’re new to photography; otherwise, try to use a full-frame and capture all the space.
- Use the lines and geometrical shapes and adequately present them, especially if they’re technology-related products.
Pro Tip:
After taking a perfect shot for your product, pass the picture into photo editing software like Lightroom or Photoshop to fix small issues like exposure, contrast, and minor color corrections. Do not make additional changes or add unnecessary filters to the images as they’ll give an artificial look to the products. Also, avoid using cheap editing applications; they’ll pixelate the picture.
Final Thoughts:
Ecommerce photos are critical to the success of an online store. The expectations of online buyers have grown over the past few years, so make sure you are offering more than just standard shoots. You can capture photographs from various angels to highlight the uniqueness of your products.
Additionally, these photographs can be combined to create a 3D image that can be used by customers to see the details of the products by rotating them from different angles. Ultimately, better ecommerce photography will lead to higher conversion rates.


Comments (0)